
Biting into your own homegrown corn is a vegetable gardener’s summer treat. If you have never grown corn, learning the conditions it likes will help you achieve a healthy crop of your own. So read on to find out everything a beginner needs to know to grow corn at home.
Related: The Growth Stages of Corn: From Seed to Harvest
Table of Contents
Beginner’s Guide to Growing Corn
Knowing the right conditions corn (Zea mays) thrives in will ensure you successfully grow corn. Planting at the right temperature, and giving corn plants the correct amount of sunlight, soil conditions, water and fertilizer will almost guarantee a successful corn patch.
And by growing your own corn in your backyard garden, you can choose to garden organically, by forgoing chemical sprays and other nasties, for a healthier garden and crop.
So let’s start by learning the ideal growing conditions for corn.
Temperature
Growing corn requires a warm temperature of around 60-95 °F (15.5-35 °C). As a warm-season crop, corn thrives in moderate temperatures.
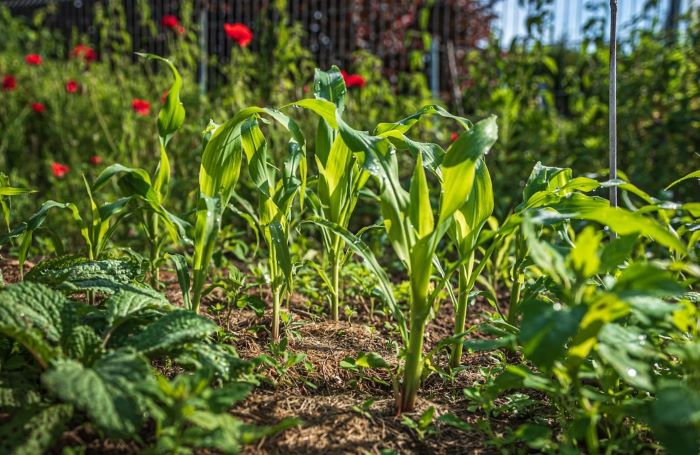
You can start growing corn around mid to late spring. This will ensure the soil is warm enough to support the corn seed germination and plant growth.
Sun Requirements
Sunlight is essential for the growth of your corn plants. Corn needs full sun exposure, meaning it requires at least 6-8 hours of direct sunlight daily.
To ensure the best growth, choose a location in your garden that receives ample sunlight.
Soil Conditions
The soil for growing corn should be well-drained and rich in organic matter.
You can prepare the garden bed by adding organic matter such as compost and well-rotted manure.
Organic matter actually improves soil fertility, soil structure, and its water-holding capacity. It also enhances the growth of beneficial microorganisms that aid in nutrient availability to the corn plants.
Corn plants prefer slightly acidic soil with a pH range of 5.8 to 7.0. You can check your soil pH with a soil monitor like this one. This pH range is optimal for nutrient availability to the corn plants.
So if the soil pH is too low (acidic), you can add lime to raise the pH. If the soil pH is too high (alkaline), sulfur or other acidifying agents can be added to lower the pH. However, I usually find regular additions of compost along with animal manures provide the right soil conditions needed for growing corn.
Watering Needs
Corn plants require regular watering, especially during the height of summer and dry periods. Make sure to water the plants deeply, allowing the water to reach the roots. And try to avoid overwatering of your plants as it can lead to root rot.
Aim for around 1 inch of water per week. I prefer to use a drip irrigation system set with a timer so I don’t forget. This takes the guesswork out of watering.
Keep an eye on natural rainfall and reduce your watering during these times to avoid overwating your corn plants.
Mulching around the plants can help retain moisture in the soil.
Fertilizing Corn
Before planting corn seeds or transplanting young corn plants, you can apply a balanced fertilizer that contains nitrogen (N), phosphorus (P), and potassium (K). The ratio of these nutrients (NPK) will depend on your soil type which you can test with a home test kit. But a common ratio for corn is 3:1:2.
When using granular fertilizer, you can broadcast it evenly across the soil surface and then water it in.
After the corn plants have reached about knee-high (around 6-8 inches in height), you can side-dress them with a nitrogen-rich fertilizer. Nitrogen is important for corn’s growth and development, especially during its vegetative stage.
This additional application of nitrogen helps support the plants’ overall health and encourages strong stalk and leaf growth.
Side-dressing can be done by applying a granular nitrogen fertilizer alongside the rows of corn plants. Aim to spread the fertilizer about 6-8 inches away from the base of the plants to avoid direct contact with the leaves.
Alternatively, I find using compost and aged manure usually results in very healthy soil which means I then only have to use an organic all-purpose fertilizer like this one one.
Corn Seeds or Corn Plants
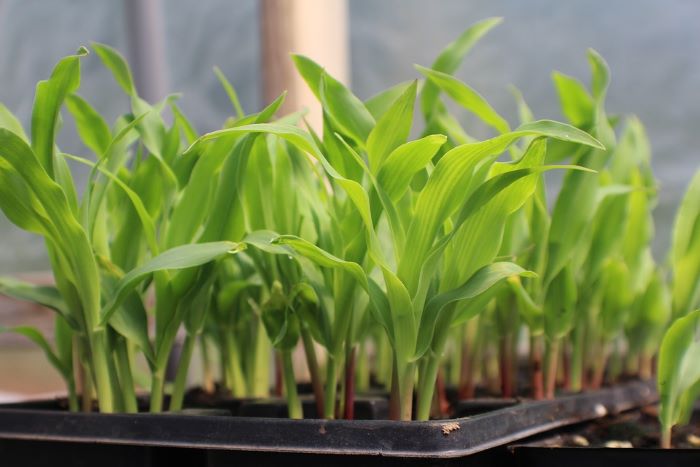
When it comes to growing corn, you have the option of starting from seeds or purchasing young corn plants.
Seeds are more economical, but they require additional care such as germination and transplanting.
On the other hand, buying young corn plants allows for quicker establishment in the garden.
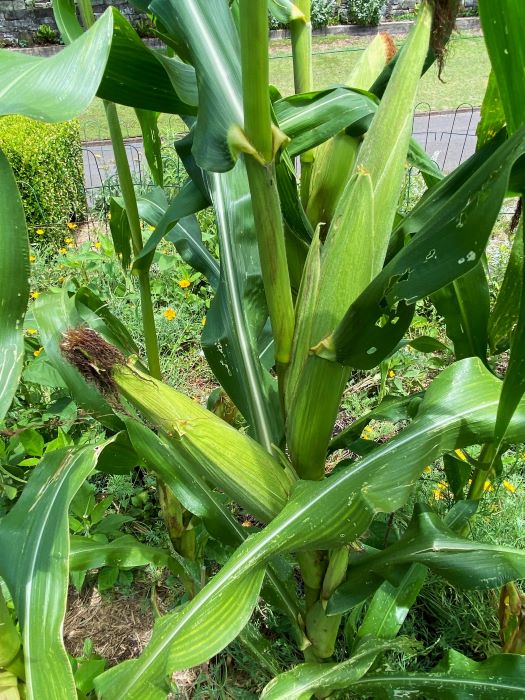
Planting Corn
Corn should be planted in blocks rather than in a single row to ensure proper pollination through wind. This is referred to as a block planting layout.
Space the corn plants about 9-12 inches (22-30 cm) apart within the row, and leave approximately 30 inches (76cm) between each row.
Ideally, the block should be at least 4 rows wide for good cross-pollination.
If you are sowing seeds, plant the seeds about 1-2 inches deep, be careful not to compact the soil too much as it can hinder germination.
Water thoroughly after planting which helps start germination and new plant roots establish.
Apply a layer of organic mulch around the base of the corn plants once they have developed a few leaves. This helps to retain soil moisture, control weeds, and regulate soil temperature.
Hand Pollinating Corn
Corn is pollinated by wind which is why you should plant corn in blocks of rows. However, if you have limited space to plant blocks of corn, as most home gardeners will, then you may need additional pollination by hand-pollinating.
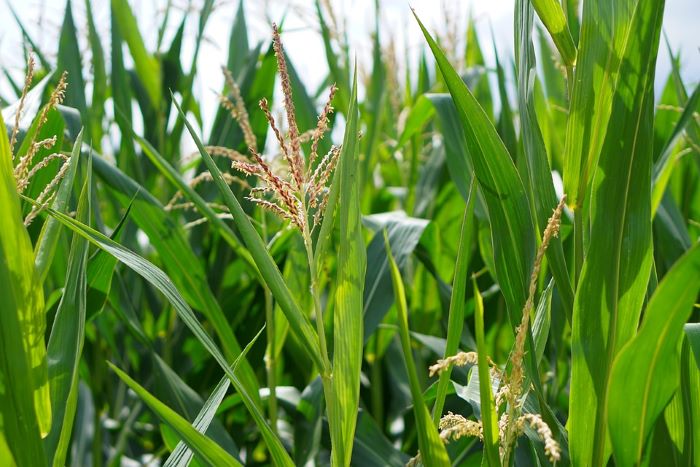
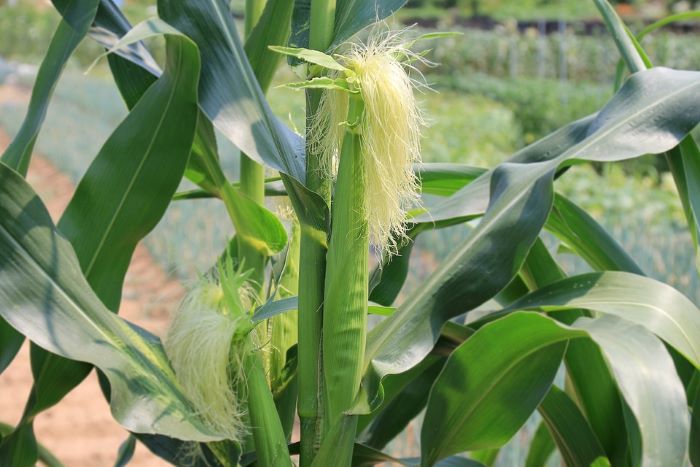
This involves transferring pollen from the tassel (the male flower) to the silks (the female flowers) of each corn plant. This should be done during the first 10 days of the silks emerging.
Here’s how to do it:
- Identify the tassels, which are the long, sticky structures located at the top of each corn plant. They contain the pollen.
- Identify the silks, which are thin, thread-like structures emerging from the ear of corn. They are the female reproductive organs.
- Start with a healthy, mature corn plant that has fully-formed tassels and silks. This ensures that the plant is ready for pollination.
- Gently remove a tassel stalk with scissors (leaving the remaining tassel intact). Be careful not to disturb the pollen contained in the flowers which resemble a fine yellow powder.
- Take a tassel and lightly sprinkle and rub it onto the exposed silks of the corn plant. Be sure to cover as many silks as possible to ensure successful pollination.
- Move on to the next corn plant and repeat the process. It’s a good idea to collect a new fresh tassel for each plant.
- Timing is important. Hand-pollinate corn plants in the morning when the tassels are actively shedding pollen. This helps increase the chances of successful pollination. A good time is after any morning dew has dried out but before it gets too hot.
- Repeat as needed – usually once or twice over the coming days. Corn plants typically have multiple ears, so repeat the hand pollination process for each ear to maximize yield.
- Keep an eye on the plants to ensure successful pollination. Soon after successful pollination, the silks will start to wither and turn brown. This indicates that the fertilization process is taking place.
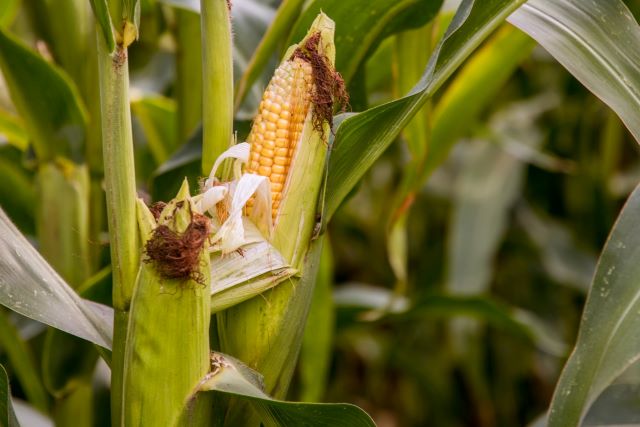
Harvesting Corn
Corn generally takes 60 to 100 days to grow. You can then start to look for other clues as to when your corn is ready to harvest.
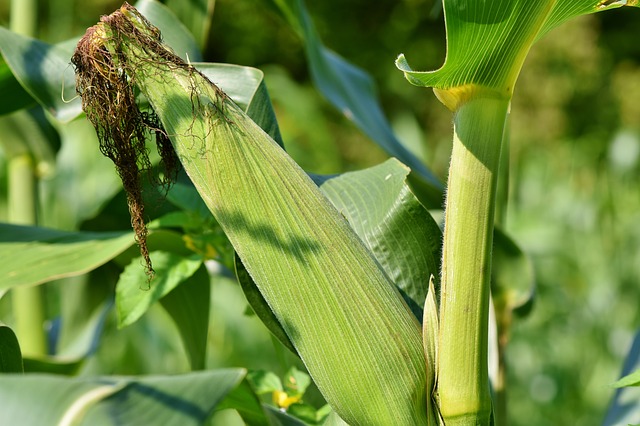
The corn ears should have fully developed kernels and be plump to the touch. And the corn silks should be dry and brown.
To harvest the corn, hold the stalk firmly and pull downward, twisting slightly to detach the ear from the plant. Once the ear is detached from the stalk, remove the husk by gently peeling it back.
Inspect the kernels to ensure they are fully developed and plump. If the kernels appear underdeveloped, hold off harvesting the remaining corn and try again in a few more days.
After harvesting the corn, it’s best to consume or process it as soon as possible to retain its freshness and flavor.
Related: Corn Fritter Recipe With Basil | Why Is My Corn So Small? Causes and Solutions
How to Store Corn
To store fresh corn, leave the husks on and store the ears in the refrigerator.
Storing fresh corn in the refrigerator helps to maintain its freshness for up to 5-7 days. Leaving the husks on protects the corn kernels from drying out. Before storing, remove any damaged or discolored husks.
For longer storage, blanch the corn ears, then freeze them in airtight containers or freezer bags. Blanching helps to kill off any bacteria and enzymes that can cause your corn to rot.
Related: Why Is My Corn Sour? Answered!
How To Blanch Corn For Freezing
- Bring a large pot of water to a boil.
- Meanwhile, prepare a bowl of ice water.
- Husk the corn and remove the silk.
- Drop the corn ears into the boiling water and blanch them for 3-4 minutes.
- Using tongs or a slotted spoon, transfer the corn ears into the ice water bath to cool rapidly.
- Let the corn ears sit in the ice water for the same amount of time they were blanched.
- Remove the corn from the ice water and pat them dry.
Once the corn ears are blanched, you can freeze them for longer storage.
How To Freeze Blanched Corn
- Cut the corn kernels off the cob using a sharp knife. Cut close to the cob to get as much of the kernels off as you can. A corn peeler makes the job easy.
- Place the kernels in a freezer-safe container or airtight freezer bags.
- Label the containers or bags with the date to keep track of their freshness.
- Pop the containers or bags in the freezer.
Frozen corn should be used within 12 months. To use the frozen corn, simply remove the desired amount from the freezer and thaw it in the refrigerator overnight or in cold water for a quicker thaw.
Pests and Diseases
There are a number of pests and diseases that can affect corn plants. Look out for the following and be sure to take action when you first spot a problem:
Pests
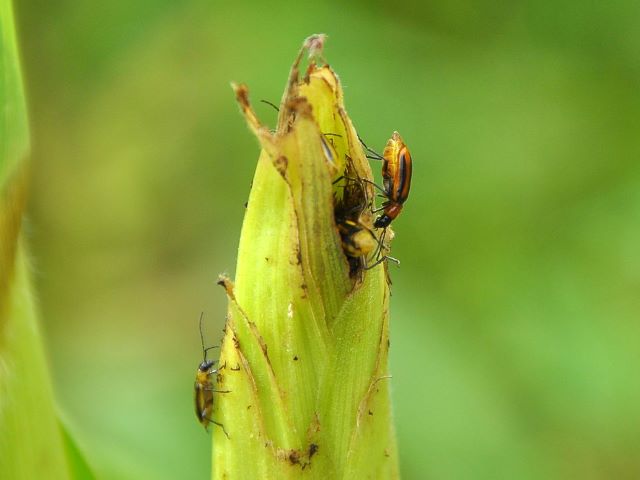
Corn is susceptible to various pests, including corn earworms, corn borers, and European corn borers. Monitor for any signs of pest damage and take appropriate measures such as applying organic insecticides like neem oil or using physical barriers to protect your corn plants.
Related: Corn Pests
Diseases
Common diseases that can affect corn plants include corn smut, which causes black fungal growth, and various fungal diseases that affect the foliage and ears. To prevent the spread of diseases, practice good garden sanitation and choose disease-resistant corn varieties.
Recommended Sweet Corn Varieties
There are numerous sweet corn varieties available, each offering its own unique flavor and characteristics.
Some well-known sweet corn varieties include Silver Queen, Honey and Cream, and Jubilee. A popular choice for the home garden is Bantan Sweet Corn.
FAQ’s
Can you grow corn in containers?
Yes, corn can be grown in containers, but it requires larger containers to accommodate the extensive root system. Ensure the container is at least 12-18 inches (30-45cm) deep and wide enough to provide ample space for the corn plant to grow.
How many corn plants should I grow per person?
The number of corn plants to grow per person can vary depending on factors such as dietary preferences, the amount of space available, and personal consumption habits.
A single corn plant can produce 1-2 ears of corn. So I recommend planting anywhere from 10-20 corn plants per person. This will yield 10-40 cobs per person, depending on the number planted and whether the plant yields 1 or 2 ears of corn.
Keep in mind, that this number is to calculate how many corn plants to grow to be self-sufficient in corn. However, even a much smaller number of plants in a backyard garden will be a rewarding treat.