
Have you ever considered growing your own potatoes but lacked the outdoor space for a traditional garden? Fear not, as growing potatoes in a bag could be the solution for you. Not only is it a space-saving option, but it also offers portability and convenience, as well as providing greater control over the soil and environment. So, let’s delve into the details of how to successfully grow potatoes in a bag.
Related: Can You Plant Sprouted Potatoes? (And How!)
Table of Contents
The Benefits of Growing Potatoes in a Bag
Growing potatoes in a bag offers several benefits that make it an attractive option for both experienced and novice gardeners.
If you have limited outdoor space or no garden at all, growing potatoes in a bag offers a viable alternative. It allows you to cultivate your own fresh produce even in confined areas such as balconies, patios, or small yards.
Growing potatoes in a bag means they are portable, you have the ability to move the bag around as needed. This portability means you can adjust the potato plant’s exposure to sunlight or protect it from harsh weather conditions.
By using a grow bag, you have more control over the soil composition and environmental factors that can affect the growth of potato plants, ultimately contributing to a more successful harvest.
Potato Grow Bags
Before growing your potatoes you will need to choose the right bag. You should consider the material, as well as the size and depth of the grow bag to ensure a successful potato harvest.
Grow Bag Material
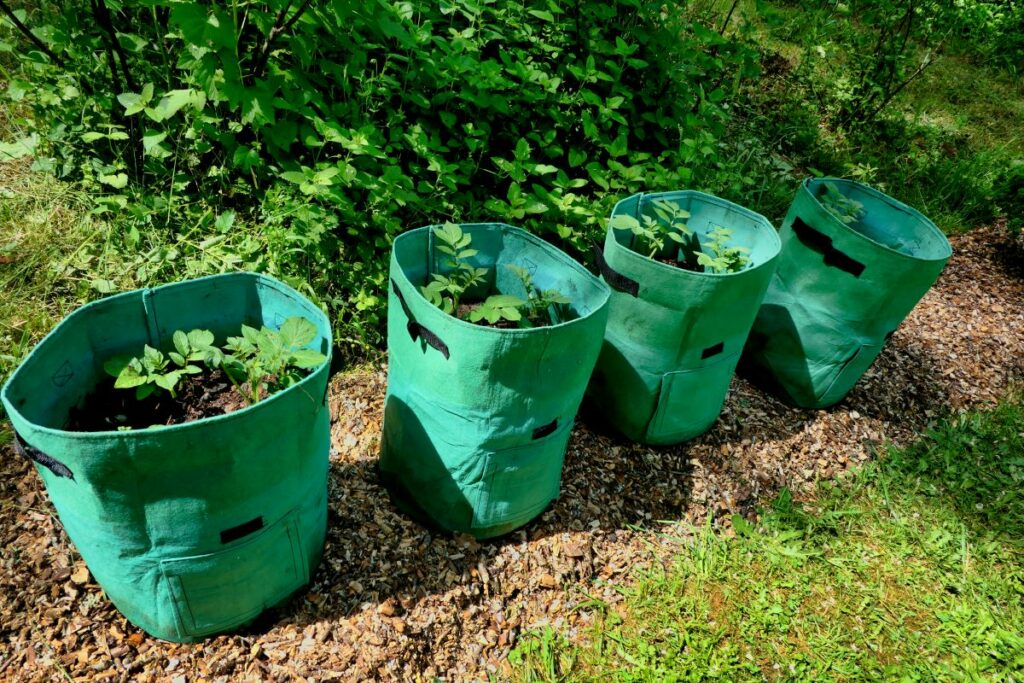
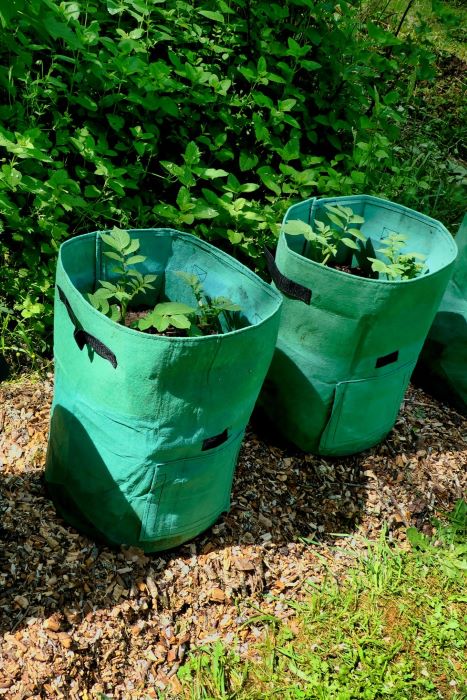
When selecting a bag for growing potatoes, opt for breathable, sturdy materials such as fabric or tough plastic. These materials provide aeration and drainage for the plants’ roots, essential for healthy growth.
Fabric grow bags are a popular choice(and my preferred grow bag) as they allow for good airflow and drainage, preventing the soil from becoming waterlogged. They are also reusable and easy to store when not in use.
Tough plastic grow bags are another option, offering durability and long-lasting use. Look for bags with drainage holes to prevent water buildup and allow for air circulation.
Some other materials to consider for grow bags include burlap, felt, or woven polypropylene. These materials are all breathable and provide a good environment for root growth.
Avoid using bags made from non-breathable materials such as solid plastic or metal, as these can restrict airflow and cause moisture buildup, leading to root rot and other plant health issues.
Size and Depth of the Grow Bag
The size and depth of the grow bag are significant factors. A larger bag accommodates more soil, allowing the potato plants to develop a more extensive root system and produce a larger yield. I would recommend a depth of at least 15 inches (40cm) to support healthy root growth.
An average-size grow bag would be 10 gallons (about 38 liters). But you could get away with 5 gallons (19 liters) at a stretch.
In the smaller bag, you can plant 2 to 3 seed potatoes in a 5-gallon grow bag. And expect to harvest 20-30 potatoes.
In the larger grow bag you can plant 5 to 6 seed potatoes and you could yield up to 50 potatoes.
Results will of course depend on the growing conditions.
A deeper grow bag can also make it easier to water and maintain the plants, as it provides more space for the soil to retain moisture and nutrients. However, larger bags will also be heavier and more difficult to move if this is required.
Consider the available space in your garden or growing area and factor in enough space between bags for air circulation and access for maintenance.
Try these 10-gallon grow bags or you can select a different size, including 5-gallon. This 10-gallon potato grow bag is specially designed for growing potatoes and includes a built-in flap you can lift to check the growth progress of your potatoes.
How To Plant Potatoes in a Grow Bag
Planting potatoes in a bag involves preparing your seed potatoes, filling your bag with soil and potatoes and continuing to top up the bags as the potato plants grow.
If you’re still looking for a potato variety to grow, check out these organic mixed seed potatoes. They include 10 seed potatoes in a mix of red, purple and yellow!
Preparing the Seed Potatoes
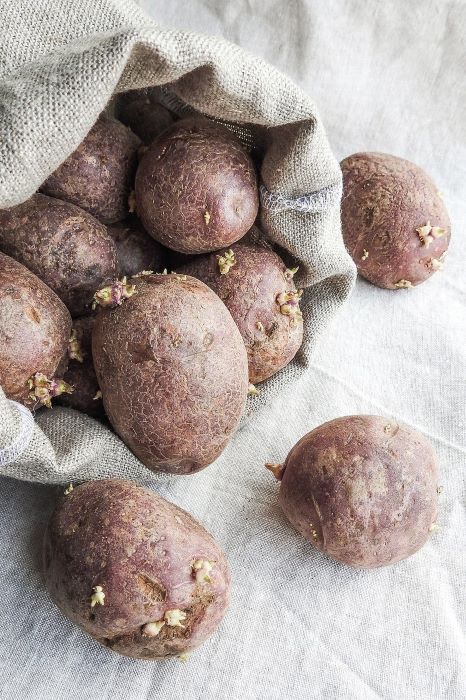
Prior to planting, you can prepare the seed potatoes by chitting them, a process that encourages the development of sturdy sprouts. This is done by placing the seed potatoes in a cool, well-lit area for a few weeks and allowing the sprouts to emerge.
To start, you will need a tray or egg carton to hold the seed potatoes. Place the potatoes in the tray or carton, making sure to position them with the end that has the most eyes facing upward. This will encourage the sprouts to grow in the right direction.
Next, find a cool, well-lit area to place the tray or carton. Ideally, the location should have a temperature of around 50 to 60 degrees Fahrenheit. Direct sunlight is not necessary, but the area should be well-lit to encourage the sprouts to grow.
Over the course of a few weeks, you will begin to see sturdy sprouts emerging from the eyes of the seed potatoes.
Once the sprouts are about ½ inch to 1 inch long, the seed potatoes are ready to be planted.
Although it is not strictly necessary, by chitting the seed potatoes, you are giving them a head start in the growing process, which can lead to better yields and healthier plants. This simple step can make a big difference in the success of your potato crop.
Filling the Grow Bag with Soil and Seed Potatoes
After chitting the potatoes, fill the grow bag with a nutrient-rich soil mix, leaving enough space to accommodate the seed potatoes and allow room for proper growth.
The soil mix should provide a good balance of nutrients and a loose, well-draining texture.
First, place a few inches of the soil mix in the bottom of the grow bag. Then, carefully place the chitted seed potatoes on top of the soil, spacing them out evenly. Make sure to cover the seed potatoes with another few inches of soil mix, leaving about 3 inches of space from the top of the grow bag.
As the potatoes grow, continue to add more soil mix around the plants, leaving about an inch of space from the top of the grow bag. This will help support the growing plants and encourage the development of more tubers.
Water the soil thoroughly after planting to ensure that the soil is evenly moist but not waterlogged. Keep the grow bag in a sunny spot and continue to water regularly, especially as the plants grow and develop.
Adding a layer of mulch on top of the soil can also help retain moisture and keep the soil cool.
With the right care and attention, your potatoes should thrive in the grow bag, providing you with a bountiful harvest of delicious homegrown spuds.
Caring for Potato Plants in a Grow Bag
Once the potatoes are planted, providing them with proper care will support their growth and ensure a successful harvest.
Watering and Moisture Levels in a Grow Bag
Consistent and adequate watering will produce healthy potato plants. You can do this by monitoring the soil’s moisture levels and ensuring it remains consistently moist but not waterlogged.
As the plants grow, adjust the watering to meet their evolving needs.
To water a grow bag properly, it’s helpful to water the potato plants in the morning to reduce the risk of fungal diseases.
You can check the moisture level of the soil by sticking your finger into it about 1 inch down. If the soil feels dry to the touch, it’s time to water the plants.
When watering, make sure to water the plants at the base and avoid wetting the foliage, as this can create conditions for fungal diseases to develop. Use a watering can or a hose with a gentle spray to water the plants evenly and thoroughly.
In hot or windy weather, you may need to water the plants more frequently, while in cooler or more humid conditions, you may not need to water as often.
Fertilizing and Nutrients for Potatoes in Grow Bags
As well as rich soil, providing fertilization at key stages of the potato plants’ growth will promote healthy growth. This will help ensure that the potato plants have access to the essential nutrients needed for robust growth and the development of quality tubers.
When first planting the potatoes, mix in a fertilizer high in phosphorus, such as bone meal into the potting mix. This will help promote strong root development and encourage the plants to establish themselves in the grow bags.
As the plants begin to grow and develop foliage, they will benefit from a balanced fertilizer that is higher in nitrogen. I like to use an organic all-purpose fertilizer like this one. This will support healthy leaf and stem growth as the plants prepare to start producing tubers.
Once the plants start to flower and set tubers, you can switch to a fertilizer that is higher in potassium, such as a 0-0-60 NPK fertilizer. Potassium is essential for the development of the potatoes and will help ensure they mature properly. Usually, I just continue with the all-purpose fertilizer.
Monitor your potato plants for any signs of nutrient deficiencies, such as yellowing leaves or stunted growth, and adjust the fertilization program as needed.
Monitoring for Pests and Diseases

Monitoring for pests and diseases will protect the potato plants from potential threats. You can do this with regular inspection which can help identify and address issues early. This can be done weekly or bi-weekly.
Get familiar with the symptoms and signs of common pests and diseases that affect potato plants. Look for leaf discoloration, holes in leaves, wilting, and visible pests such as aphids, beetles, and caterpillars.
If pests or diseases are detected, take appropriate action to control them. This may include the use of organic insecticides, fungicides, or crop rotation and sanitation.
Related: 7 Pests That Eat Potato Leaves And How To Get Rid Of Them | Getting Rid of Potato Bugs Organically: Colorado Potato Beetle | 7 Reasons Potato Plants Are Dying (and how to fix it!)
Harvesting Potatoes from a Bag
Successful harvesting of potatoes grown in a bag requires an understanding of the plant’s growth stages and techniques for harvesting and storing the potatoes post-harvest.
Understanding the Growth Stages
Observing the growth stages of the potato plants will help determine the right time to harvest.
1. Sprouting – This stage occurs when the seed potato is planted and begins to develop shoots. The sprouts emerge from the eyes of the seed potato and start to grow into the soil.
2. Vegetative growth – During this phase, the potato plants focus on developing a strong root system and producing foliage. The plants will continue to grow and spread, forming a dense canopy of leaves.
3. Flowering – As the plants mature, they will produce small white or purple flowers. This typically occurs around 50-60 days after planting, depending on the variety of potato.
4. Tuber initiation – After flowering, the potato plants will start to form tubers underground. This is when the potatoes begin to grow and develop, and it is an important stage for determining the size and yield of the crop.
5. Bulking – During this stage, the tubers continue to grow and expand in size. The plants require consistent moisture and nutrients to support the development of the potatoes.
6. Maturation – Towards the end of the growth cycle, the potato plants will start to die back, and the foliage will turn yellow and wither. This is a sign that the potatoes are reaching maturity and are ready for harvest.
Harvesting Techniques for Bag-Grown Potatoes
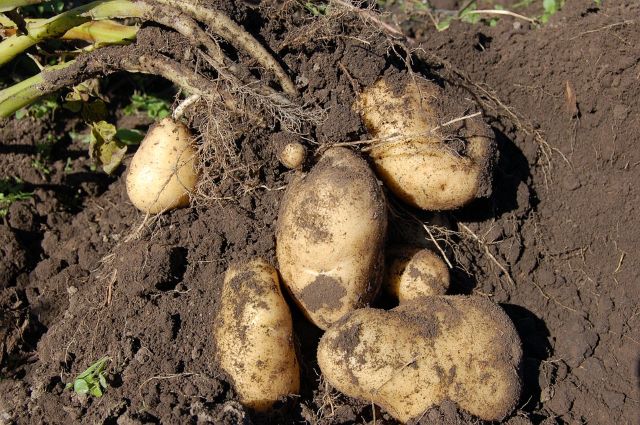
Potatoes can be harvested once the leaves and stems have turned brown and died back. This typically happens around 2-3 weeks after the plants have stopped flowering.
Use a garden fork or spade to gently lift the bag-grown potatoes from the soil. Be careful not to damage the potatoes, as they are easily bruised.
After harvesting, leave the potatoes in a cool, dry place for a few hours to allow the soil to dry and the skins to toughen up.
Once the potatoes are dry, you can transfer them to a storage container such as a burlap sack or a ventilated wooden crate. Store them in a cool, dark place with good air circulation to prevent them from sprouting.