
Growing your own pumpkin plant at home is an exciting journey as you track the different stages of its growth. The satisfying feeling of being able to harvest your own vegetable after watching it grow into a delectable, mature pumpkin is incomparable.
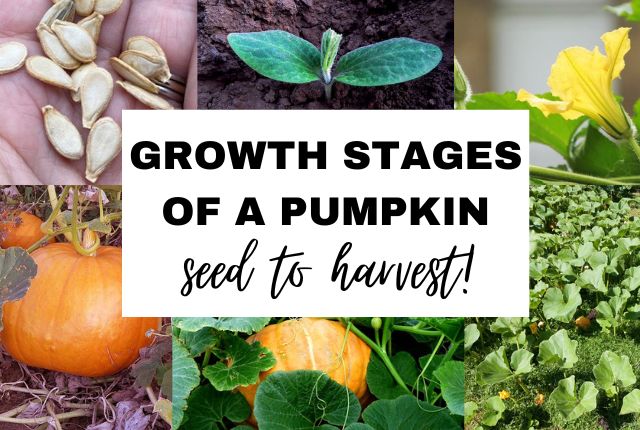
A pumpkin plant will generally take between 90-120 days from seed to harvest (depending on the vareity). The growth stages of a pumpkin are seed planting, germination, growth and formation of vines, development of flowers, pollination of flowers, growth of fruit and finally, harvesting of the pumpkins.
Let’s take a more in-depth look at the various growth stages of your pumpkin plant.
Table of Contents
1. Planting The Pumpkin Seed
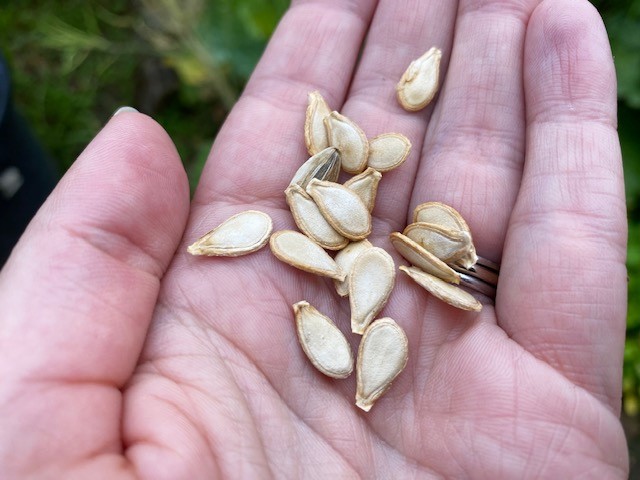
As with most plants, it all begins with planting a seed. Pumpkin seeds are recognizable by their teardrop shape and pale yellow seed coat. You can find an abundance of these seeds in the hollow core of a pumpkin.
Pumpkin seeds should be planted in the late spring when the soil is slightly warmer as they are fragile and will be injured by frost. When planting pumpkin seeds you will need to space them evenly and leave sufficient space for their vines to grow.
It’s a good idea to grow pumpkins in raised rows or mounds, 5-6 feet apart from each other. When planting your pumpkin seeds, you should place them in a shallow hole, approximately 1 inch (2-3cm) deep in the soil.
I personally like planting 3 pumpkin seeds in each planting hole. This technique is commonly referred to as “overseeding” and will increase the chances of your pumpkin seeds germinating.
Make sure to keep the soil moist for your pumpkin seeds in order to initiate germination.
2. Germinating Pumpkin Seeds
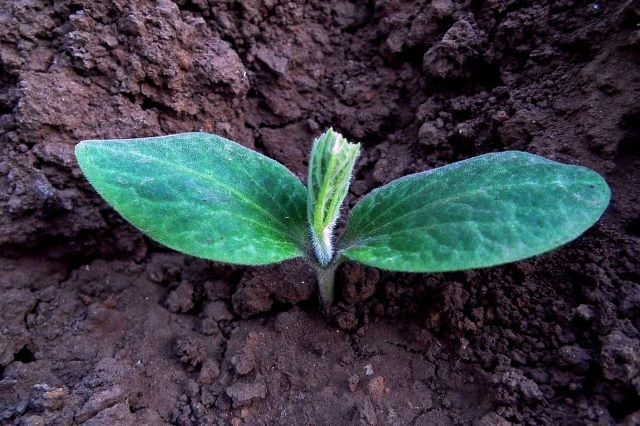
Pumpkin seeds germinate faster in warmer soil between the temperatures of 70-85℉ (21-29°C). It takes on average 5-10 days for a pumpkin seed to begin sprouting. The first signs of life that appear from the ground will be 2 oval-shaped leaves. These leaves are not the “true” leaves of a pumpkin plant but are rather referred to as the “sprout”.
The true leaves of a pumpkin plant will begin to appear around 5-7 days later. True leaves of a pumpkin plant are noticeably dark green in color, have jagged edges, and will emerge from the center of the sprouted plant.
Germinating your pumpkin seedlings indoors for the first 2 weeks will keep them from being exposed to any late frost or cooler weather. I use a heating mat to warm up the soil in my seedling containers and will remove the mat once they begin to sprout.
If you live in a cooler climate, you might want to cover your pumpkin growing area with landscaping fabric a few weeks prior to planting your seeds. Then you can make slits in the fabric and plant your pumpkin seeds in the openings. The insulating fabric warms up the soil and provides a conducive environment for your germinating pumpkin seeds.
3. Growth and Formation of Vines
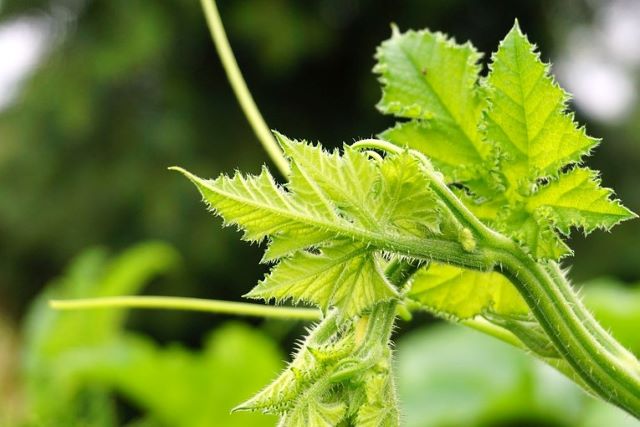
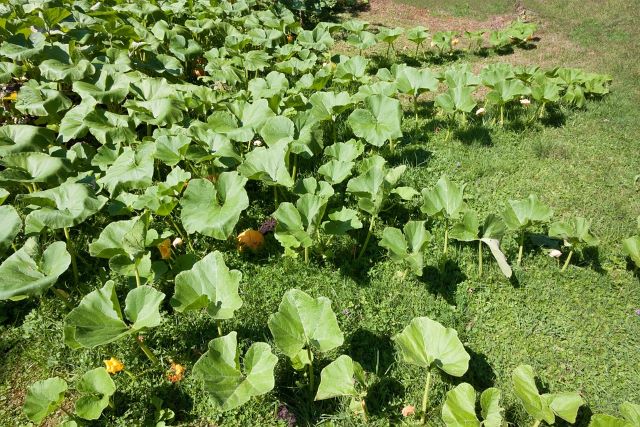
Shortly after the leaves of your pumpkin plant have developed, creeping vines from its stems will start to appear. At this stage, the growth of your pumpkin plant will be visible from day to day.
Pumpkin vines have been known to grow up to 6 inches (15 cm) every day if they receive sufficient water and sunlight. Vining pumpkin plants require rich soil with a pH balance between 6.0-7.8 pH with 6.5-7 pH being ideal.
Vining pumpkin plants need an initial dose of nitrogen in their soil as this promotes growth. Compost or manure can be mixed with your soil to give it a boost of nitrogen, otherwise, you can always add a slow-release vegetable fertilizer that has a high nitrogen concentration.
When watering your pumpkin plant you should avoid getting its leaves wet. The leaves of a vining pumpkin plant can be sensitive. If they receive a lot of water, it makes them susceptible to fungus such as powdery mildew which will kill the leaves on your vines.
Most vining leaves will begin to wilt under the hot afternoon sunlight: if your vining pumpkin plant’s leaves show signs of wilting before midday, it can be an indication that your plant needs to be watered.
I prefer watering pumpkin plants in the morning, as this allows the sun to dry out any water that may splash onto the leaves. Using a soaker hose like this one to directly water your pumpkin plants at their base will prevent any unnecessary spillage onto your leaves.
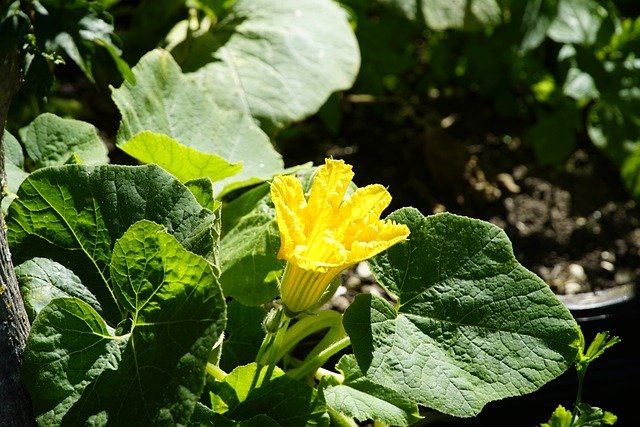
4. Development of Flowers
Pumpkin plants will continue to spread their vines and explore your gardening space as long as they have 8 hours of sunlight per day. After 6-8 weeks (50-60 days) your pumpkin plants will enter the flowering stage of their life cycle.
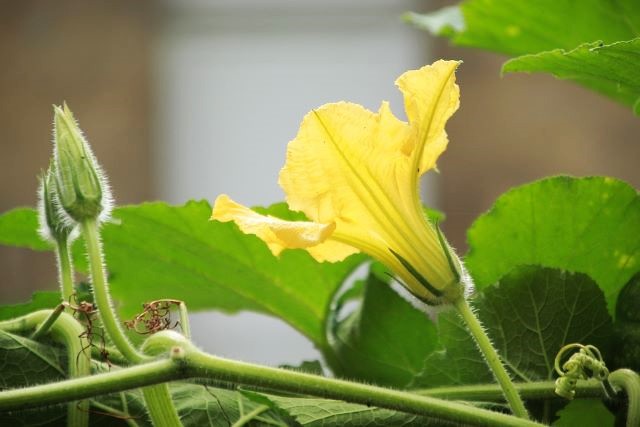
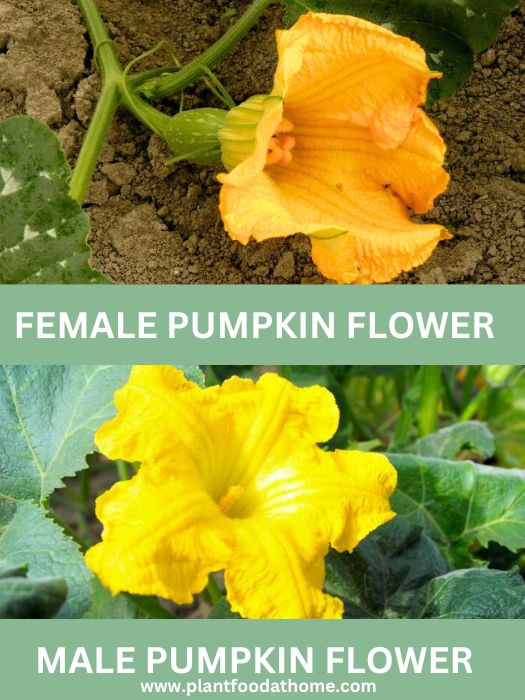
Two types of flowers will begin to form along the stems of your vining pumpkin plant: the first will be a male pumpkin flower (similar in appearance to a cucumber flower) with bright yellow petals and a central stamen.
The second flower to appear is the female flower which has a round green fruit at its base. Female flowers will only start to grow a few weeks after male flowers have blossomed.
At this stage in your pumpkin’s growth cycle, your plant will change its diet and require less nitrogen in the soil. This is because your pumpkin plant’s focus changes from growing green leaves to developing flowers for which they will need phosphorus and potassium.
Phosphorus is an essential nutrient for the enhancement of buds and aids plants with blossoming. I recommend adding an organic edible garden fertilizer like this one to your soil to ensure the soil’s nutrient requirements are met. This is especially important when your pumpkin plants show signs of flowering to support fruit set and development.
Related: Pumpkin Flowers But No Fruit? 8 Causes and Solutions
5. Pollination of Flowers
As mentioned above, there are two types of flowers that a pumpkin plant produces, one being the male and the latter being the female. Pumpkin plants aren’t self-pollinating and will need to be pollinated by bees, other insects, or through the wind.
The male flower of a pumpkin plant is always first to blossom and attracts insects with the pollen and nectar that they produce. Male flowers usually only blossom for a short period before dying off, but your pumpkin plants will continue to reproduce male flowers.
The female flower of a pumpkin plant also attracts insects with the sweet aroma of its nectar. Insects, predominantly bees, will pollinate female flowers by transferring pollen from the male stamen into the female flower.
Female flowers will close off and the tiny pumpkin below the flower will continue to grow once they have successfully been pollinated. If your pumpkins aren’t growing, or are withering away and dying, you might have a pollination issue and you may need to assist your plants.
Growing native flowers and flowering shrubs in close proximity to your pumpkin plants will attract pollinators (such as bees) into your garden. Avoid spraying pesticides in your garden as it will kill off any possible helpful pollinators.
You can also increase the number of pumpkins your plant produces by pollinating the female flowers yourself. Manually pollinating female flowers can be done with the help of a soft paintbrush.
Dab the end of the paintbrush gently into the male flowers’ stamen, filling the brush with yellow pollen. Then lightly swirl the end of the pollen-painted paintbrush inside the female flower, and you’re done!
Alternatively, I prefer to cut off a male flower and gently dab it over the female flowers, a trick that is commonly used for pollinating zucchinis and some cucumbers!
6. Let The Fruits Grow
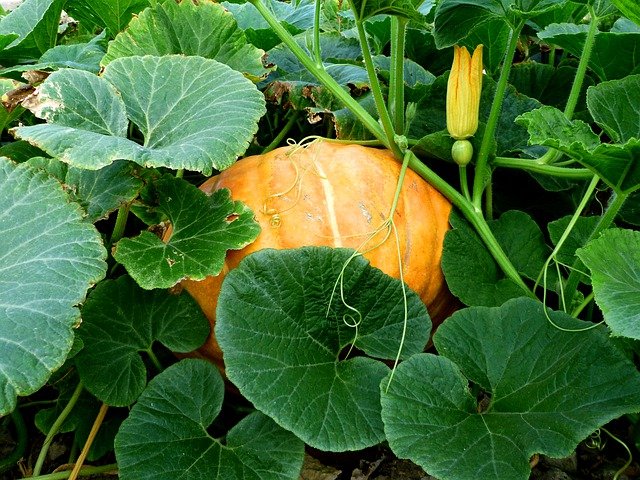
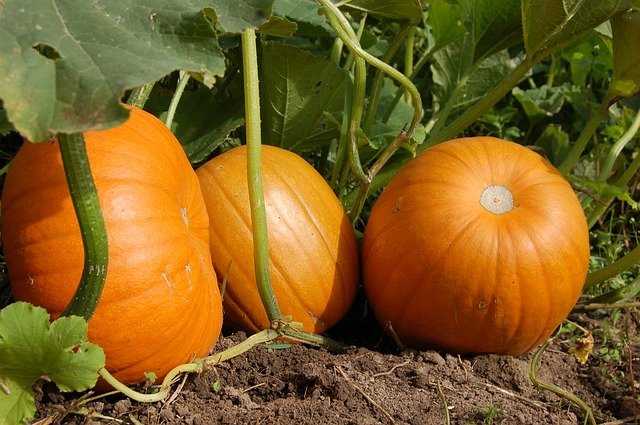
Once your female flowers have successfully been pollinated, their flowers will slowly close and the pumpkin at the base of the flower will grow. It will generally take between 40-55 days for a pumpkin to fully develop after the flower has been pollinated.
As time takes its course, the color of your pumpkin’s skin will transform as its skin starts to thicken and form into a familiar pumpkin shape. The vines of your pumpkins will slowly start to turn brown and wilt as the fruits increase in size.
Elevating your pumpkins off the soil while they are still young will prevent them from rotting from wet soil. I gently lift my pumpkins off the ground and place straw mulch or even cardboard underneath them, just so they are off the ground.
Other options for keeping pumpkins off the ground include placing your growing pumpkins on a clay pot, tile or a piece of landscaping fabric.
7. Harvesting Your Pumpkins
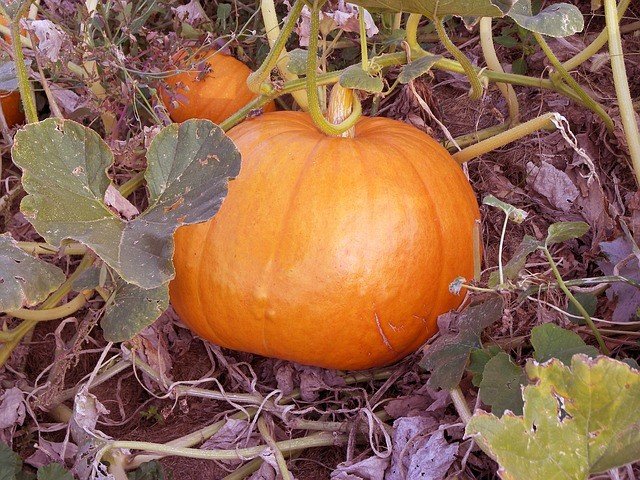
All your hard work and effort will finally be rewarded when it’s time to harvest your pumpkins. Your pumpkins will be ready to harvest when there they emit a hollow sound when you knock on the outside of your pumpkin.
One of the easiest ways to tell when your pumpkins are ready to harvest is by their color and the toughness of their stems. The color of the pumpkin will deepen while the foilage will die back along with the stem. The skin of the pumpkin will also harden.
A great tip for keeping harvested pumpkins from deteriorating too quickly is to leave 2-3 inches (5-7.5cm) of stem attached to the pumpkin.
Pumpkins can be eaten right away or cured in a sunny dry spot over a period of 10 days. Curing pumpkins will increase their shelf-life for several months.
Related Reading: