
The scent of dill brings back memories of homemade tomato soup made by my grandmother. She garnished the soup with fresh homegrown dill, straight from her garden. Now when I grow dill, I’m taken back to those fond childhood memories of eating her delicious soup, filled with homegrown goodness. Growing dill is easy so let’s find out exactly how to grow dill so you too can grow an abundance of this versatile herb.
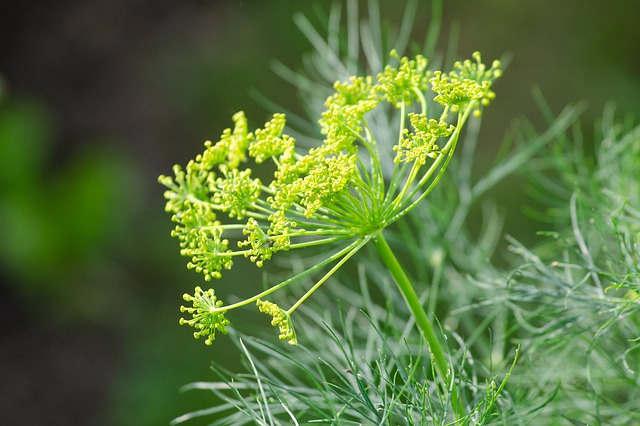
Dill seeds, flowers and the plant itself are all used in cooking. The feathery green foliage of dill is used as a herb while the seeds from the flowers are used as a spice. The attractive flower umbels and foliage are also used in sweet flower bouquets as table decorations, provided they are fresh as their quality will deteriorate within a few hours.
Table of Contents
Ideal Growing Conditions
Dill (botanical name Anethum graveolens) is part of the celery family and prefers free-draining soil, with a good amount of organic matter. This can be achieved by adding compost and manure to the soil.
The ideal soil temperature for starting dill is 60-70°F (15-21°F). You can check your soil temperature with this soil and water gauge.
Grown in the right conditions, dill may grow as a biannual, meaning it will grow for 2 years. But more often, dill is grown as an annual herb, meaning it will grow for one season.
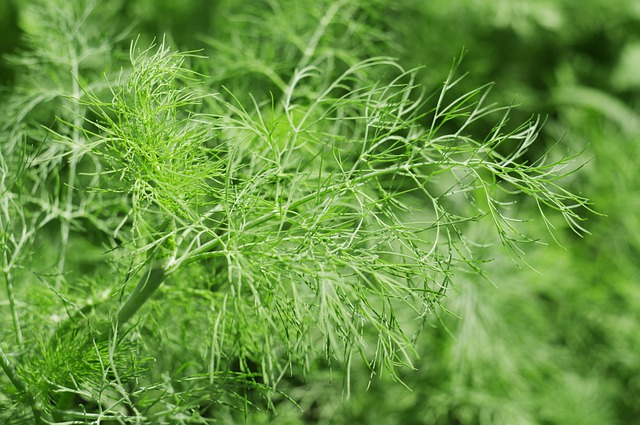
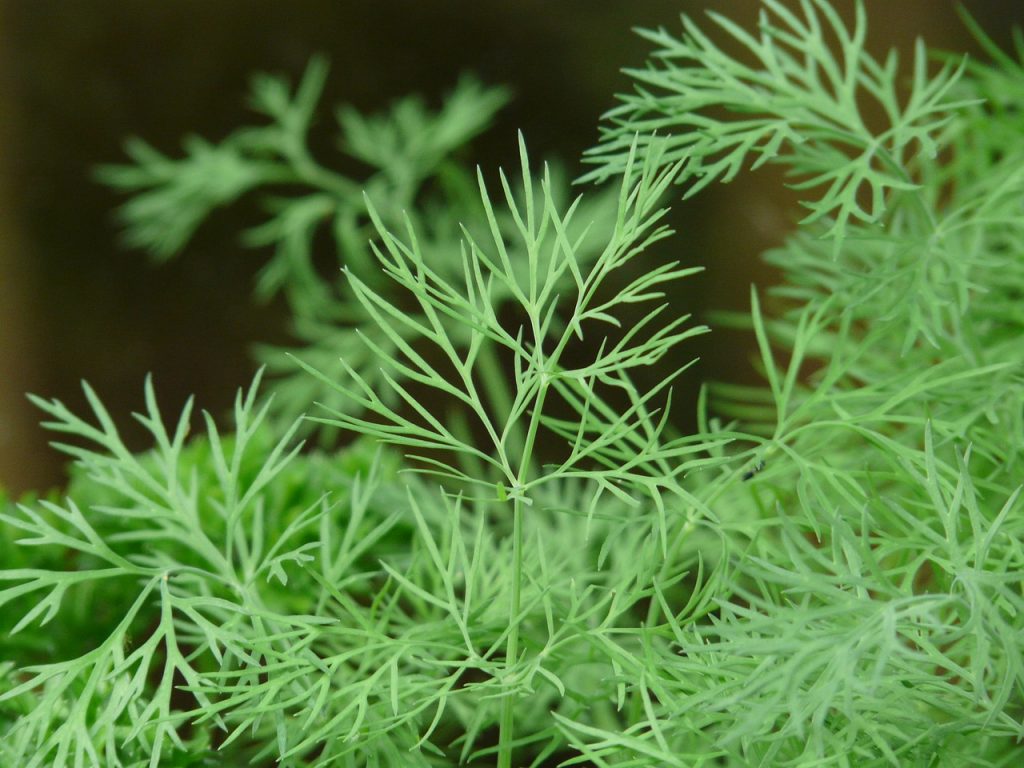
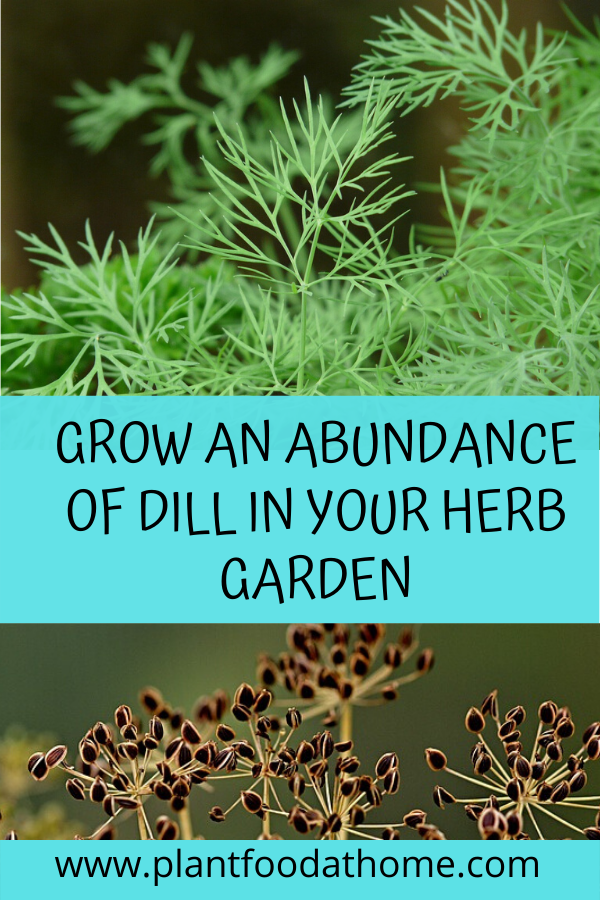
The leaves of dill are commonly referred to as dill weed or leaf dill.
One secret to growing an abundance of dill is to resow dill seeds every 2 weeks during the growing season to ensure a continuous supply.
How to Grow Dill in the Garden
Sowing dill seed directly in the garden is believed to be the best way to grow dill. This is because dill plants form a taproot which can be easily damaged during transplanting.
However, planting seeds in trays or small pots is still my preferred method as it allows me to see what I have growing, without mistaking it for a weed! This way I can also manage the regular water requirements of new seedlings easily. I then successfully transplant the seedlings into the garden when they are around 2 inches (5cm) high.
Whichever way you choose, just do what works best for you. You may start seeds directly in the garden and find it doesn’t work well for you and move to raise seeds in trays or vice versa.
Purchasing dill seedlings from the garden center works well too.
Choose a sunny spot in the garden where dill will receive 6-8 hours or more of sunlight each day. Dill will cope with some dappled shade, though it will do better in the sun and produce a bushier plant.
Seed can be sown 1/4 inch (0.5cm) deep in shallow trenches and covered lightly with soil. Dill seed can be sown closely together initially at 1-2 inches (2.5-5cm) apart and later thinned to 6-18 inches (15-45cm) apart, depending upon the variety. Water the seeds well and keep the soil moist until seedlings emerge in 7-14 days.
Dill grows 18-40 inches (45cm-1mt) tall. They form a hollow stem and because of their height, may need additional support or else they can fall over. If they are planted closely together or towards the back of the garden, they can naturally lean against other plants as support if required.
Growing Dill in Pots
Growing dill in pots and containers is a great option when space is limited. Choose a pot at least 12 inches (30cm) deep to accommodate the taproot. Consider a dwarf variety such as Fernleaf and monitor the water requirements.
Dill grown in pots will require more water than dill grown in the garden as pots and containers dry out more quickly.
Water Requirements for Dill
Water dill regularly but allow the soil to dry out a little between watering. Make sure the water drains away from the roots before watering again. Good soil structure, which allows the water to drain, is important as too much water sitting around the roots can cause dill to wilt and rot.
You can check moisture levels easily with this water gauge.
Fertilizing Dill
Apart from starting with healthy soil, topped with compost and aged manure, dill does not require a large amount of feeding. However, you can provide additional growing support with an organic all-purpose fertilizer.
Harvesting Dill
Dill leaves can be harvested at any time though generally, you’ll want to wait for the plant to produce enough leaves at around 6-8 weeks.
Foliage can be lightly snipped off all over and will encourage further growth and a bushier plant.
Dill is best used freshly harvested as it will start to droop within a day or two of being picked. The storage life can be prolonged by keeping the stems in water and storing them in the fridge or wrapping the leaves in a damp paper towel and storing them in the fridge.
If the weather becomes too warm, dill will ‘bolt’. This means the plant will flower and eventually die. You can prolong the dill plant’s productivity by cutting off any flower stems before they flower. Though the flowers are very attractive to bees and beneficial insects and therefore it is well worth allowing the plant to set flower.
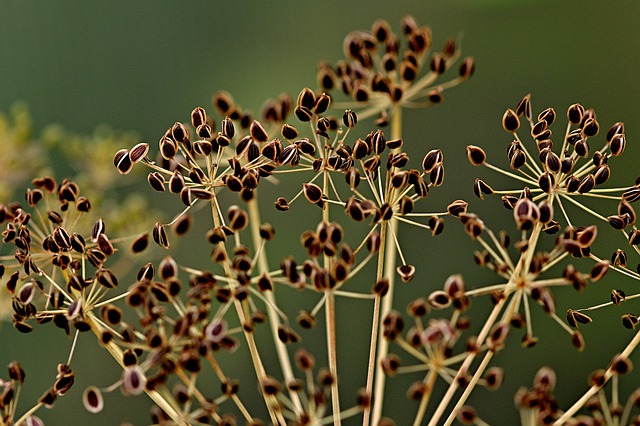
When the dill flower drys, the seeds can be collected and used in culinary dishes.
When To Plant Dill
Generally, dill is grown from spring through fall. Direct sow after the last expected frost date or start indoors 4-6 weeks before. Remember the delicate taproot and try to get the dill in the ground when seedlings are around 2 inches (5cm) to minimize taproot disturbance.
Dill Varieties
Bouquet – most widely grown.
Superdukat – popular variety, slower to grow than Bouquet but also slower to flower so the plant lives longer.
Fernleaf – a dwarf variety, great for pots and containers.
Mammoth
Leafy Diana
Long Island Mammoth – popular with commercial growers. A large plant that can reach 5 ft (1.5mts) in height.
Pests and Disease
Dill is not too bothered by pests and disease, though it may be attractive to the odd caterpillar (which may turn into a swallowtail butterfly). For organic control, either hand remove them or plant extra dill to account for some loss.
Other pests may include aphids, armyworms, and tomato hornworms.
Conclusion
In order to achieve an abundance of dill in your garden, ensure free-draining soil which has been prepared with compost and aged manure, keep up the water, especially on hot days, and succession plant every few weeks in the growing season.
This herb is attractive in the garden and so useful in the kitchen. So why not plant some dill in your garden?
Recommended Products
Some of My Favorite Gardening Products
- AeroGarden Bounty Indoor Hydroponic Herb Garden
- Heirloom Herb Seeds Set
- Horticultural Neem Oil
- Haws Handy Plastic Indoor Watering Can
Are you interested in growing more food in your garden at home? Here are some other great articles:
- How To Grow Cilantro: Tips For Growing Cilantro
- 7 Tips To Successfully Grow Basil At Home
- How to Grow Lemongrass: Planting and Growing Guide
- How To Grow Ginger: Guide To Growing Ginger At Home
- Drought Hardy Herbs To Plant At Home
- How To Grow Mint: Complete Guide To Growing Mint At Home
- Growing Parsley: Planting, Harvesting and Storing Parsley
- How to Grow Chives in Your Herb Garden
- Dying Chives? 6 Common Causes with Solutions
- Growing African Blue Basil: Plant Profile and Propagating
- Parsley Dying? 6 Common Causes and Solutions
Love dill and it’s such a pretty herb in the borders. I like it’s frothy flower heads and it goes so well with anything tomatoey.
Fresh dill is the best – I make a homemade salad dressing that I love adding it to! On another note, I’d love to eventually grow it, along with a few other common herbs!
-Madi xo
I love dill! I want to start an herb garden so I am going to add this to my list for sure. I never realized how beneficial it was for insects and bees. Thank you for this.
I enjoyed your article on how to grow and harvest dill. I love the celery taste of dill. But what I really found interesting is how to grow it as a plant that can help bees! I like container gardening for these purposes – and living in the desert Southwest I’m always looking for ways to bring a few healthy bees into our backyard garden. Thank you!